Tutorial: Text Engraving
This tutorial describes inserting text into CamBam and generating an engraving operation from it.
Inserting Text
To insert text into a drawing, use the Draw - Text menu option or the  tool bar icon.
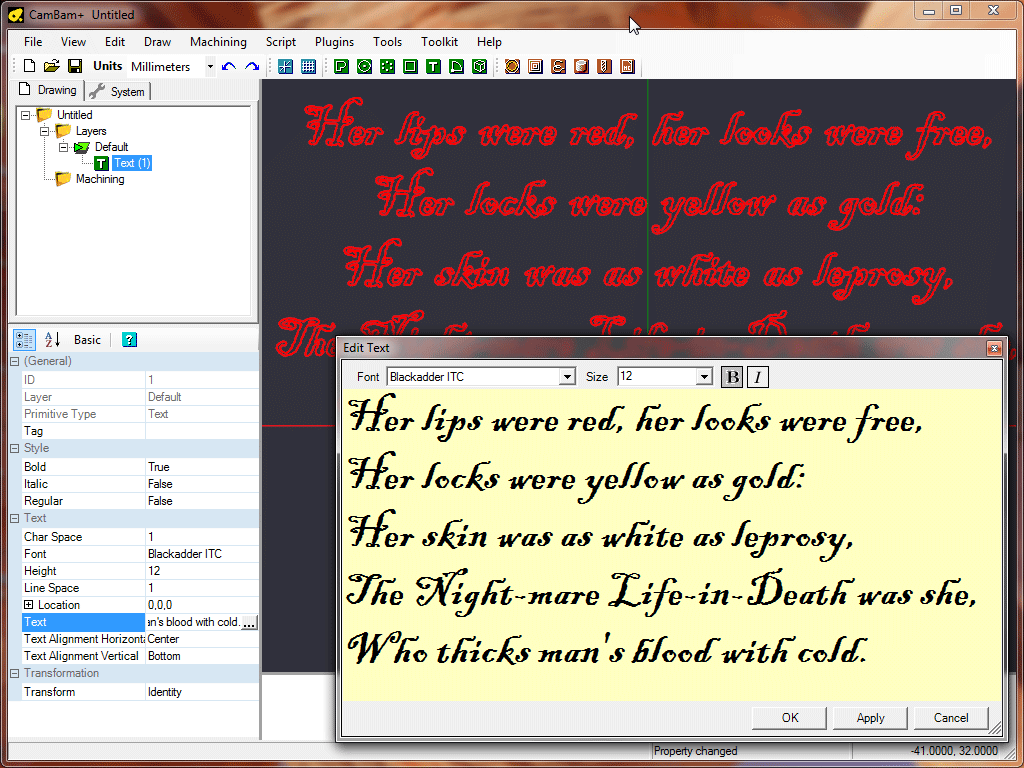
A multi-line text editor will be displayed. Insert the text the press OK. You will then be prompted for the location of the text by clicking on the drawing.
Note: By default, after entering a text item, the draw text command will be repeated and the text entry screen shown again. Press the Cancel button to end the text entry commands. This behaviour can be turned off by setting the Repeat Commands option in system configuration to
False .
Text can be modified at a later stage by double clicking the text object in the drawing tree, or by clicking the ellipsis […] button
to the right of the Text object’s
Refer to the Text drawing section for details on the text drawing object.
Creating Engraving GCode
To create some engraving gcode, select the text then select the Machining - Engrave menu option or use the  toolbar icon.
For shallow engraving (0.3mm), try these properties:
Depth Increment = 0.3
Tool Profile = V-Cutter
Note: The default CAM Style used an Auto setting for
Target Depth . For engraving operations using a V-Cutter, the target depth is automatically calculated to be one depth increment below the stock surface.
Sample Engraving…
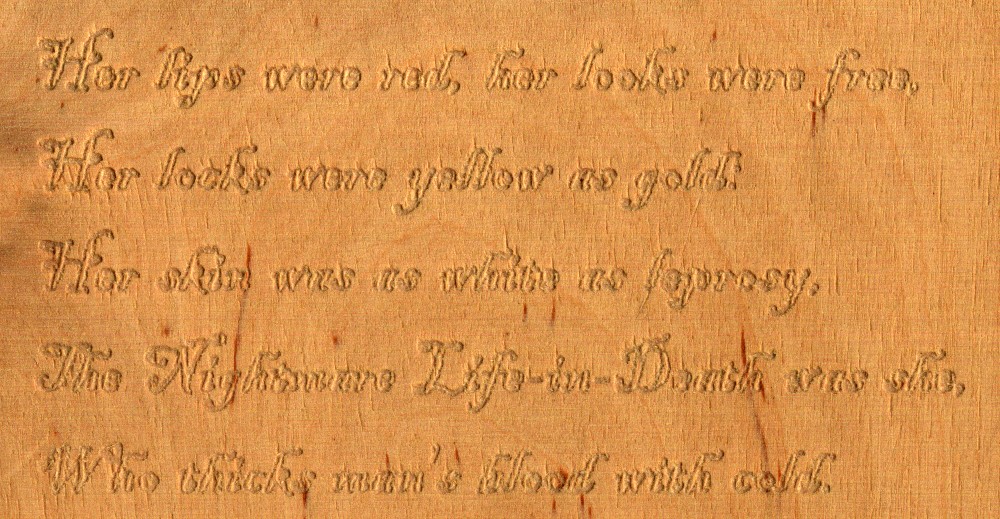
Not exactly high art, but the letters are quite small (3-6mm) and plywood isn’t the best precision engraving material.
Single Stroke (Stick) Fonts
To create thin engraving, ideally a ‘stick’ font should be used, that is a font with no thickness.
Unfortunately, True Type Fonts (TTF) do not support open shaped fonts so engraving results with TTF fonts can be hit and miss.
GeorgeRace has created some excellent ‘Stick Fonts’ and has made them available on the CamBam user forum here.